Saturday, July 30, 2011

How to Make a Birthday 3D Train Cake


Honestly, train cakes are really easy to make, and incredibly fun!  What kid doesn't enjoy bright colored sweet things to eat, and a cake loaded with candy or sweets?!  

For this train cake, I bought 6 mini loaf cakes (queen cake, but pound cake would also work).  If you want to take the time to bake, you can also make the mini loaf cakes.  If the cake has a tendency to be crumbly, freeze it before working with it.  I sliced off the top mounds of 5 of the cakes so that I had flat train cars to work with.  I cut the sixth cake into three, and stacked one piece on a whole cake to make the engine, one on end on another to make the caboose, and sliced the third piece in half horizontally and placed it on another cake to make a slightly raised goods car.  [Alternatively, you can buy 3D cake pans from Wilton or Nordicware.  There are some cool things available!]
Now the fun part -- decorating!

I made buttercream frosting and divided it into 5 bowls, then colored each bowl a different color (I chose blue, yellow, green, brown and red).  Whatever colors you choose, just make sure they are bright and strong!  Each train car was then frosted a different color  (don't forget to crumb coat first!).  Place them in desired order and arrangement on a large platter as you frost.

With white icing, I piped the outline of doors, windows and bumpers on the different cars.  With a larger tip I piped yellow icing in lines between the wheels.

The wheels were chocolate sandwich cookies (Oreos or something similar), stuck directly onto the icing.  

With a dab of icing, stick M&Ms (or Smarties or Rockets or Skittles) onto the center of the wheels.  Yellow and red ones can be used for the train headlights and rearlights.  Remaining candies can be pressed into the icing in whatever pattern you like.

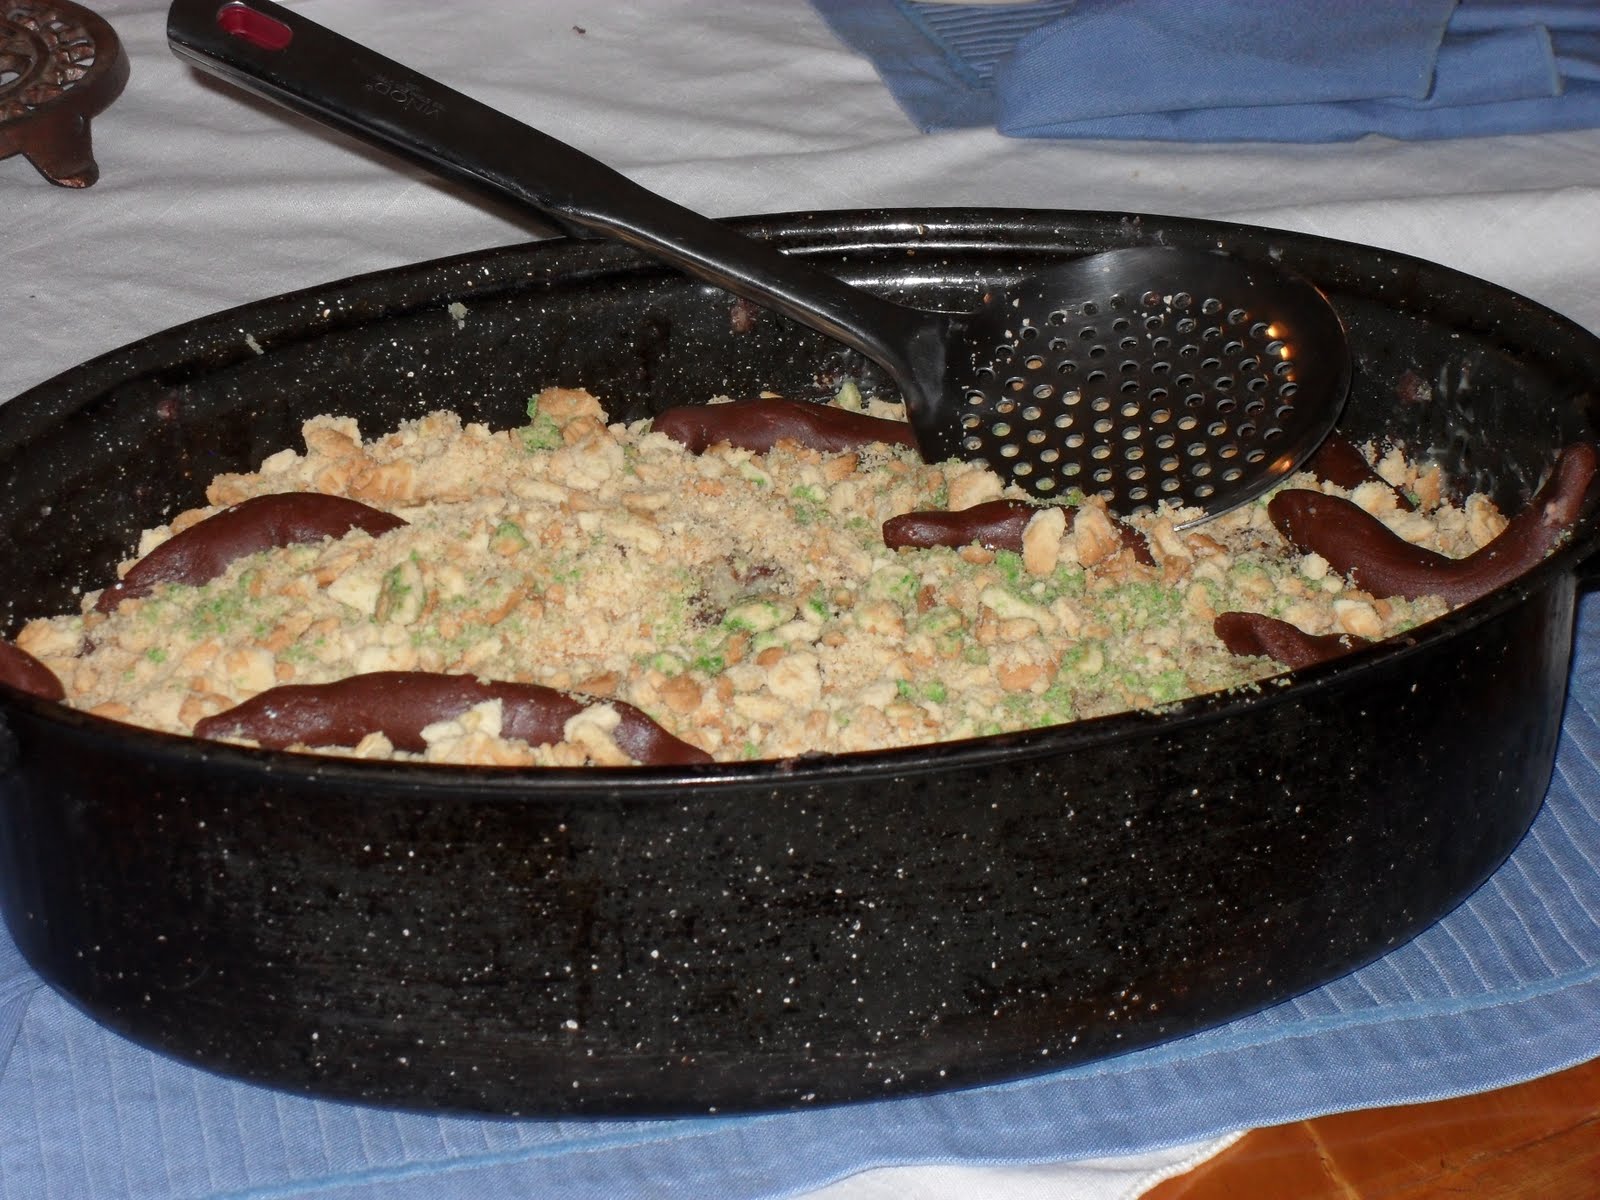
To connect the train cars I used chocolate Pirouettes.  Any kind of chocolate or dark round or long rectangular sweet you can find will work well as the connecting tongues (licorice, for example).

Now for the train cake toppers!  

The engine needed a smoke stack, of course!  For that, I used three marshmallows, mounted on a bamboo skewer, and rolled in decorating confetti balls (you may need to moisten the marshmallows slightly).

Being a steam engine, it needed a coal car.  Chocolate puff cereal made excellent lumps of coal, piled on within a piped rectangular "coal holder."

An animal cage car seemed in order as well.  (I guess this was really a circus train cake!)  Animal crackers were stuck in the middle of the car and candy sticks were used for the cage bars.  The roof was a bar of chocolate (it got a bit heavy, to it might be wise to bolster the cage with long skewers at the four corners).


The next car was just a great place to carry "balloons" or wrapped lollipops, and the final car, the caboose, just had a lot of candies stuck all over it, with another chocolate Pirouette on the back as a rear bumper.

This was my little one's first 3D birthday cake, and he was enthralled!  He spent the morning leaning on the table gazing at his cake.  I call that a success!


Tuesday, July 19, 2011

Hamburger Cupcakes a winner!

These are the most fun little cakes imaginable for a party!  My son had his party on a separate day from his birthday and we went to a water park to celebrate.  He had requested a dragon cake this year (I'll post that later), but I didn't want to take something like that on an outing.  Looking around, I came across the idea of hamburger cupcakes.  Perfect!  My son loved the idea and they were so easy to make and pack up!

I've seen pictures of hamburger cakes (full size cakes), but really liked the idea of individual hamburgers for the kids.  They liked it too.

As I said, these are very easy to make.  You will need:
*  1 13x9 inch yellow cake (from a mix or from scratch - I always do mine from scratch).  Pour the batter into greased muffin cups (no paper holders) and bake.
*  1 13x 9 inch batch of brownies (the fudge-y kind)
*  1 batch of buttercream frosting, tinted red and green
*  Marzipan tinted yellow


1.  When everything is ready, cut the brownie into circles with a cookie cutter (or top of a glass or jar).

2.  Cut the yellow cupcakes horizontally in half.

3.  Place the round brownie between the two halves of the cupcake.

4.  Pipe green frosting around the bottom to look like frilly lettuce.

5.  Pipe red frosting around the top for the ketchup.

6.  On some of the "burgers" place a square of yellow marzipan for your cheeseburger cakes.  (You can use fondant if you have that on hand.  I have not worked much with it, and it takes awhile to make, but I do have ready access to blocks of marzipan, and it kneads and shapes really well.)  You can always purchase some from Amazon if you don't know where else to get it.

7.  Press sesame seeds onto the tops of the "buns."


Voila!  Tasty, realistic looking hamburger, or cheeseburger cupcakes!  Try them on your next picnic.

Saturday, July 2, 2011

How to Make a Kitty Litter Cake

This cat litter cake is the obvious accompaniment to a cat cake, or cat-themed birthday!  Caution -- make sure your cake receiver has a sense of humor!  I made this for my son and a group of his friends; seriously, what 10 year old boy wouldn't love such gross humor?  Hmm, well, the gross factor was hard for my son to overcome!  However, once he was persuaded to take a taste, he liked it!  My 6-year old had no problems!
Cat litter cake

It's very easy to make, following a basic dirt cake recipe:

1 chocolate cake
1 yellow cake
10-15 tootsie rolls  (you can also make these from scratch from this recipe:  click here)
1 large box of vanilla pudding
1 package vanilla wafers or other sturdy yellow biscuits (e.g. Marie biscuits)
Green food coloring
New cat litter scoop  (or sieve spoon)
New cat litter pan  (or roaster, or plastic pan)

Mix the pudding according to the directions and let it set up.
Bake both cakes and let them cool. Crumble the cooled cakes into pieces into the kitty litter pan. Mix the pudding into the crumbled up cakes. The cake will be just moist, not soggy.
Crush the wafers or biscuits until they are finely crumbled. Remove ¼ cup of the crumbled  up cookies and mix them with a few drops of green food coloring. Set this aside.
Sprinkle the crushed up biscuits over the cake and pudding mixture.  Top off with the reserved green dyed crumbs.
Warm up the tootsie rolls a few at a time in the microwave until they are warm and can be shaped. Shape the tootsie rolls until they resemble cat poop.  If you are making the tootsie rolls from scratch then it is easy to shape them as you want.
Insert the tootsie rolls in the cake/pudding mixture so that part of them is showing. Add a couple of tootsie rolls on the top and dangle some off of the sides of the litter pan.
Put the scoop beside the litter box on the table to serve the cake with.

Enjoy the horrified comments!